

Latest Version
August 25, 2026
Google LLC
Tools
Android
138
Free
com.google.android.apps.accessibility.voiceaccess
Report a Problem
More About Voice Access – Hands‑free control for Android
What is Voice Access?
Voice Access is an accessibility service from Google that translates spoken instructions into actions on your Android device. By listening to your voice, it can navigate screens, activate buttons, and edit text without requiring you to tap the display.
Main capabilities
- Screen navigation – Move between apps, return to the home screen, or open specific applications simply by saying their names.
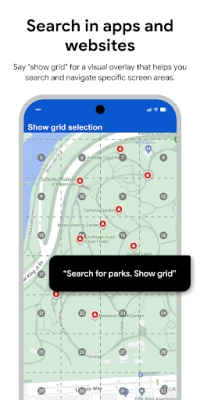
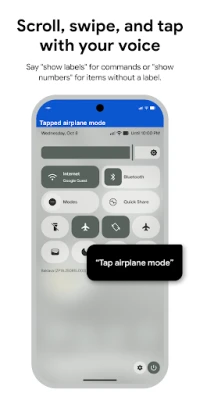
- Element interaction – Tap, long‑press, or select items that appear on the current screen using commands such as “tap next” or “select email”.
- Scrolling and paging – Scroll lists, webpages, or documents with phrases like “scroll down” or “page up”.
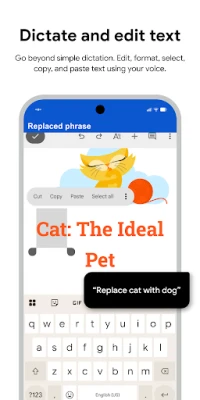
- Text entry and editing – Dictate messages, fill forms, or replace words with commands such as “type hello world” or “replace red with blue”.
How it works
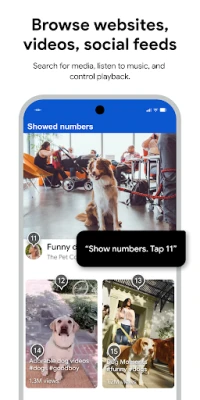
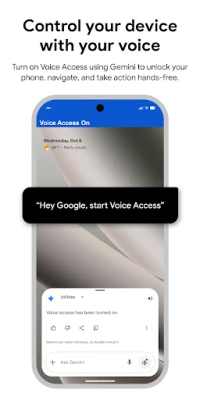
When you enable Voice Access in the Accessibility settings, the service monitors the visual hierarchy of each screen. It assigns numeric labels to interactive elements, which you can reference in your voice commands. The service can be started in several ways: a dedicated notification, a floating button that appears on the screen, or through Google Assistant with the phrase “Hey Google, Voice Access”. Once active, you speak a command, the service interprets it, and the corresponding UI action is performed.
Practical scenarios
Voice Access is especially helpful for people who experience:
- Limited hand mobility due to conditions such as paralysis, tremor, or temporary injury.
- Situations where touching the screen is inconvenient, for example while cooking or exercising.
- Desire for a hands‑free experience when driving (while complying with local laws).
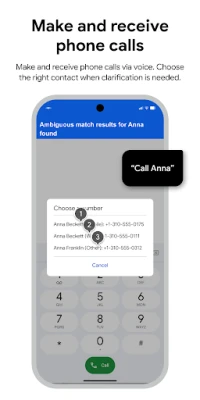
In each case, the user can launch apps, send messages, browse the web, or adjust settings without needing to touch the device.
Installation and setup
Install Voice Access from the Google Play Store. After installation, open the app or go to Settings → Accessibility → Voice Access and toggle the service on. You may be prompted to grant permission for the service to observe the screen content; this is required for it to identify UI elements. For quick activation, enable the “Hey Google” hotword and say the launch phrase, or keep the persistent notification handy.
Things to consider before enabling
- The service needs access to the screen layout, which some privacy‑focused users may wish to review.
- Voice recognition works best in a relatively quiet environment; background noise can affect accuracy.
- Battery usage may increase slightly while the service is active, as it continuously listens for the wake‑up phrase.
Who benefits most?
Anyone who finds traditional touch interaction challenging can gain independence with Voice Access. This includes users with motor impairments, caregivers assisting others, and anyone looking for a convenient hands‑free way to interact with their device.
Frequently asked questions
Can I pause Voice Access without turning it off?
Yes. Saying “stop listening” temporarily suspends the service until you say a command again.
Does Voice Access work with all apps?
It works with most apps that expose standard UI elements. Some custom or game interfaces may not be fully controllable.
Is an internet connection required?
Voice recognition relies on Google’s speech‑to‑text service, so an active internet connection is needed for most commands.
How do I get help while using the app?
Say “Help” at any time to hear a brief list of common commands, or open the tutorial from the app’s settings for a more detailed walkthrough.
Rate the App
User Reviews















Popular Apps










 Games
 Entertainment
 Communication
 E-mail
 Security
 Tools
 Media
 Internet
 Finance
 Design
 Education
 Android Firmwares
 Travel & Local
 Android
 Windows
 Linux